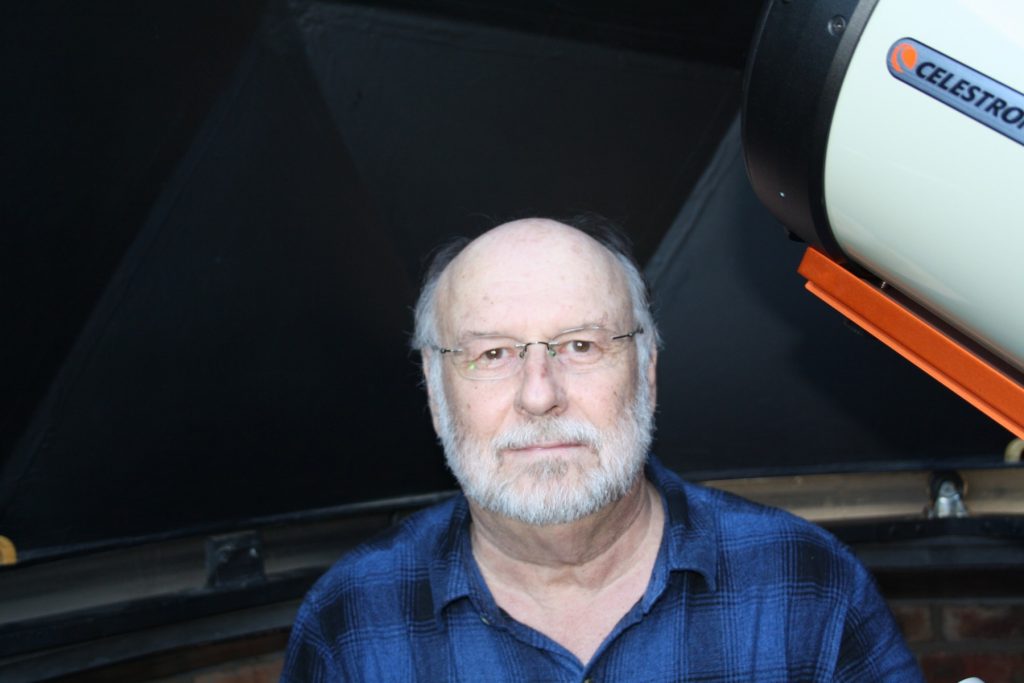
My name is Nick De Villiers, I decided to document my journey into Astrophotography in the hope that my experiences might assist fellow amateur Astro-photographers in our never-ending quest to produce better images.
I have retired from corporate life a decade ago and have been imaging for a number of years. Anyone that has attempted astrophotography, or is doing it currently, will know that this is no easy hobby but they will also know that the first image, regardless the quality, produces a feeling of immense satisfaction. My website will probably not be of much use to the expert astro-photographer, their images we amateurs can only drool over. Input from those in this special group of people will be highly appreciated.
It is not my intention to make this into a technical discourse; there are many websites that go into the technical aspects of imaging, some to the point where we mere mortals are even more confused. Having said that, all the knowledge I do have, was gained from these websites. I will refer to them when the occasion arises and I encourage you to continue to read as widely as possible with the purpose of gaining as much insight and background information as possible. I enjoy DIY and am fortunate to have a well-equipped workshop which certainly makes my projects easier but what I have done can be achieved with hand power tools and alternative construction methods. Corporate life taught me the doctrine of sufficiency, not necessarily perfect, but if it works, it is usually good enough.
I marvel at images the result of many hours of exposures, at the detail they have and the technical quality of those images. The images in my gallery are not of that quality and it is unlikely that I will ever achieve that level of expertise. (They are published as they come off my laptop and are not necessarily in the correct orientation.)
I image within the limits of my equipment and a budget that prevents me from achieving perfection but I do try for perfection within those limitations. Most of the images in the gallery are the result of stacked light frames with individual exposure lengths of not exceeding 240 seconds. I seldom go longer except for very faint targets
I use mostly free software packages, PHD2(free) for Auto-guiding, Nebulosity(very affordable) for image acquisition and processing. Registax, Autostackert and PIPP for planetary imaging(free.) StarTools is a recent acquisition, a very useful processing tool for amongst others improving star profiles. Final processing in Gimp, also free.
My equipment ranges from a modest modified Celestron Nexstar SLT mount with a modified Canon 1000D together with a selection of very old prime lenses to an iOptron Cem 60 mount. I use a 8″ optical tube assembly of a Ritchey Chretien design as well as Celestron Edge 9.25″, the latter mainly for Planets and the smaller Galaxies. A Lightwave 66mm Refractor piggy backed on the main scopes for widefield images completes the arsenal. Most of the imaging is done with an Atik 460EX , an Atik 314L+, and a Zwo AS1 1600 cooled astro cameras. For planetary imaging I use a Zwo ASI 290mm. The equipment is by no means the most expensive available but I believe were the best possible that I could afford with my limited budget.
I intend to in separate articles describe the equipment and their use in greater detail as well as my reasoning behind the purchases. If I am asked what is the most important lessons I have learnt in equipment purchase I would say that quality improvement is not linear to increased cost. Once a certain level of quality is achieved it takes a boatload of money to improve upon. I have with hyper tuning mounts suffering from backlash, sloppy bearings and the challenge to auto guide them as a result, came to the conclusion that the mount is the most crucial bit of kit in astro-photography. Pleasing images can be achieved with less than perfect optics. Good astro-images are difficult to achieve with sloppy mounts. So the mount is where most of the budget should go in my opinion.
I have found that with the creative use of custom adapters many old m42 prime camera lenses 35mm to 200mm can be attached to astro-cameras with pleasing results. Equipment can also be utilised across manufacturers. As an example, the long native focal lengths of the RC and Celestron scopes are challenging in many respects, they are unforgiving in terms of auto guiding and have a very limited field of view. Both their focal lengths can be tamed by the Astro Physics ccdt .67 reducer. I have not been able to source a Celestron 9.25 Edge reducer locally but by mounting the Astro Physics reducer 1 mm from the rear lens group on the Celestron scope a reduction of .75 can be achieved with sharp stars across the field of the AS1 1600 chip. To do this I had a simple adapter machined at my local machine shop for a small fraction of what the Celestron reducer costs.
I will also share with you my exposure durations and other settings for Deep-sky and Planetary targets. The PHD settings that work for me as an example differ widely depending on the accuracy of the mount and the focal length of the guide-scope. Without attempting to explain in detail why it works I will elaborate on the techniques used in producing the results I have achieved. There are Websites authored by much better qualified imagers that explain all of this in detail and where appropriate I will refer to them.

I have started out imaging from Pretoria, South Africa. I built a wooden deck on top of an outbuilding to serve as an imaging platform. I soon found that this platform was not rigid enough to support quality imaging. I then casted concrete supports into the building on which the mount tripod stood. This was a huge improvement but still left me and my equipment exposed to the elements.
The next obvious improvement was an Observatory. Unable to source one locally and not able to import one at a reasonable cost I decided to build one myself and so SkyNest 1 Observatory was created. I used the stitch and glue method commonly used in the construction of light weight marine ply boats. Certainly a method within the capabilities of a moderately skilled DIY-er

For many years I have battled increasing light pollution to the point where narrow band filters were all that could be used for deepsky imaging. With a new Hotel and Casino development being planned close to my house I decided to move to a dark site in the Klein Karoo as the resultant increase in light polution would become unmanageable.
Building SkyNest 2 proved to be a major undertaking that took me a year to complete as owner builder. A design parameter was that the dwelling had to incorporate observatory access from inside the house. This parameter necessitated rebuilding the dome taken from SkyNest 1 to allow for the opening and closing of the shutters from inside the observatory.
The project was completed the end of 2013. The quality of my imaging has improved substantialy due to a combination of having the I Optron Cem 60 mounted on a pier and dark skies at the new location.
The enjoyment of the pristine night skies and the tranquility country life offers made the effort and expense every bit worthwhile.

I have provided more details of this major undertaking under the heading Articles: Observatory Construction.
Life is an exciting journey to be enjoyed thoroughly. Being a lifelong student acquiring new skills and knowledge throughout has made mine more meaningful.
Your comments and suggestions are welcome and where appropriate I will respond. For that purpose I can be contacted at the following e-mail address Contact Us.
Clear skies and happy imaging!